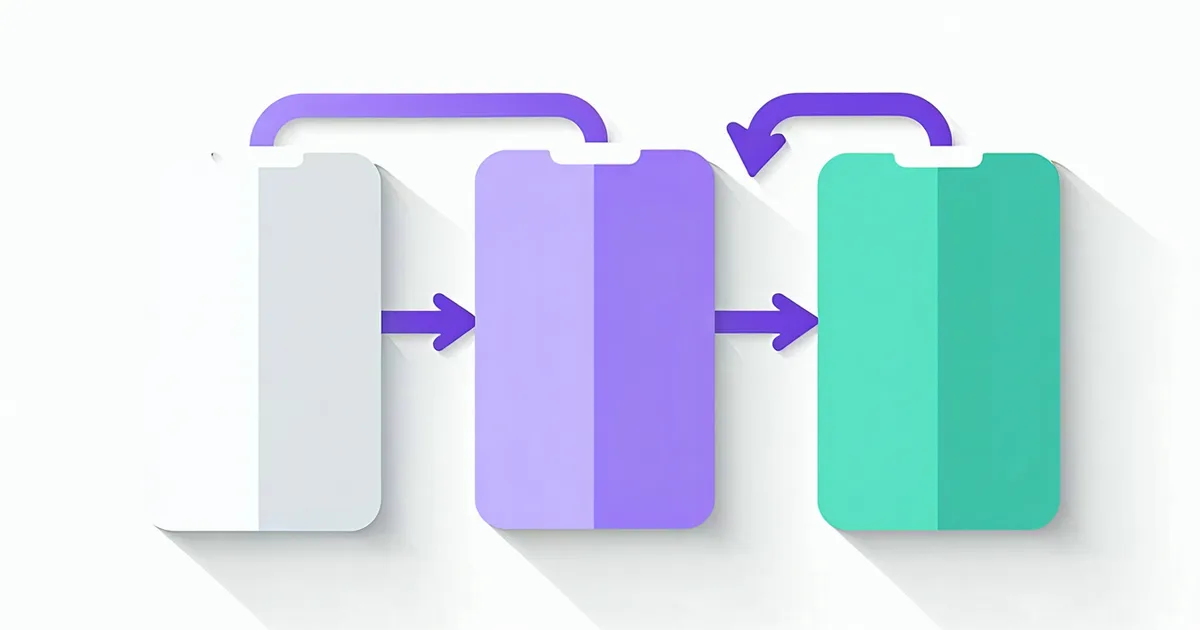
One of the most common starting points for ops teams building their first TASKBASE workflow is a three-tool stack they already live in: Slack for communication, Notion for documentation and lightweight databases, and Google Sheets for data tracking. These tools are already connected in practice — team members copy-paste between them, trigger manual actions based on Slack messages, and update the spreadsheet when Notion pages change. The automation is implicit and human-executed. TASKBASE makes it explicit and system-executed.
This walkthrough covers how to connect all three tools to TASKBASE using native connectors, and how to configure the trigger logic that turns ad-hoc tool switching into a coherent automated workflow. The setup time, assuming you have TASKBASE access and admin permissions in the tools you are connecting, is genuinely 15 minutes for a simple workflow.
Step 1: Connect your integrations
Before building a workflow, you need to authorize TASKBASE to access your tools. In TASKBASE, navigate to Settings → Integrations. You will see the native connector library. Click each integration and follow the OAuth flow:
- Slack: Authorize TASKBASE to post messages and read channel events. Select the workspace. You will be asked which permissions to grant — for most use cases, you need the ability to post messages to channels, send direct messages, and read messages in specific channels if you want Slack messages as workflow triggers.
- Notion: Authorize TASKBASE to access your Notion workspace. You will be prompted to select which databases TASKBASE can access — limit this to the databases relevant to the workflow you are building. Notion's integration model requires explicit database selection at authorization time.
- Google Sheets: Authorize TASKBASE via Google OAuth. You can scope to specific spreadsheets or grant access to all spreadsheets in the account. For most ops teams, scoping to specific files is preferable from a data hygiene standpoint.
Once connected, each integration appears as available in the workflow canvas connector palette. You can now use them as trigger sources, action targets, or data sources within any workflow.
Step 2: Choose your trigger
In TASKBASE, every workflow starts with a Trigger node. For a workflow connecting Slack, Notion, and Sheets, common trigger configurations are:
- Slack message trigger: Fires when a message matching a pattern is posted to a specified channel. Useful for "when someone posts a request in #procurement, start the purchase approval workflow." Configure the channel, and optionally a keyword filter or slash command trigger.
- Notion database row trigger: Fires when a new row is added to a Notion database or when a specific property on an existing row changes. Useful for "when a new entry appears in the Vendor Onboarding database, start the vendor screening workflow."
- Scheduled trigger: Fires at a defined cadence — daily, weekly, at a specific time. Useful for "every Monday at 9am, read the pending items from the Google Sheet and process each one."
- Form submission trigger: If you use Notion forms or a connected form tool, the trigger fires on each form submission. Useful for employee request workflows where the submission form feeds directly into the automation.
For this walkthrough, we will use a Notion database trigger. A new row added to a "Purchase Requests" Notion database kicks off a purchase review workflow that notifies Slack and logs the outcome to Google Sheets.
Step 3: Configure the data extraction node
When the Notion trigger fires, it passes the new row's properties as a data object to the next node. Add a Transform node after the trigger. In the Transform node, map the Notion row fields to named variables: requester_name, request_amount, vendor_name, request_description. These named variables are what subsequent nodes in the workflow will reference.
The Transform node is also where you apply any data normalization logic: if the amount field comes in as a string from Notion, convert it to a number here so the Branch node can compare it against a numeric threshold. This sounds like a small thing, but getting data types right at the transform layer prevents puzzling behavior downstream when a branch condition does not fire as expected.
Step 4: Add a branch condition
Add a Branch node after the Transform node. Configure two paths: one for requests under ¥100,000 (manager approval sufficient) and one for requests at or above ¥100,000 (requires department head approval). The Branch node condition evaluates request_amount against the threshold.
Each path then leads to a Human Gate node configured with the appropriate approver. The Human Gate sends a notification to the approver — either a Slack direct message or an email — containing the request details and an approve/reject action interface. The approver clicks their response. The workflow resumes.
Step 5: Post the result to Slack
After the approval gate, add a Slack action node. Configure it to post a summary message to a designated channel — something like #ops-approvals. The message body references the workflow variables: "Purchase request from {{requester_name}} for {{vendor_name}} (¥{{request_amount}}) was {{approval_status}} by {{approver_name}} at {{approval_timestamp}}."
TASKBASE's Slack action node supports simple Slack Block Kit formatting — you can make the approval status bold and color-coded without writing JSON by hand. For most ops notification use cases, the default plain-text format is readable enough, but the option to add structure is there when the message needs to carry more density.
Step 6: Log the outcome to Google Sheets
Add a Google Sheets action node after the Slack notification. Configure it to append a new row to a designated spreadsheet — your purchase approval log. Map the workflow variables to column headers: Date, Requester, Vendor, Amount, Approval Status, Approver, Comments.
This is the part that often surprises ops teams who are new to workflow automation: the log writes itself. Every run of the workflow appends a row. The spreadsheet becomes a complete, chronologically ordered audit trail with no manual data entry. At end of month, the finance team reads directly from the sheet rather than collecting email threads.
When native connectors are not enough
Native connectors handle the most common operations well, but every tool has edge cases. Notion's API, for instance, does not natively support real-time triggers on property changes — TASKBASE polls for changes at a configurable interval (typically one to five minutes). For workflows where near-real-time response matters, a Slack slash command trigger or a form-based trigger is more reliable than a Notion property-change poll.
Google Sheets has a similar nuance: the append row action works reliably, but reading data from Sheets mid-workflow (to look up values during execution) can be slow if the spreadsheet is large. For read-heavy operations on larger datasets, a Notion database or a kintone record store often performs better as the lookup source.
These are not limitations of no-code tooling specifically — they reflect the underlying API characteristics of each platform. Understanding which tool handles which operation well is the kind of knowledge that accumulates over a few workflows and makes subsequent builds significantly faster.